1K Blog Marathon: Day 62
Did you know how a website works? How does it go “live”, published and ready for the world to view? If the answer is No, then maybe I can help you understand at least the basic part of it – by creating your own web host locally!
You can host your own website on your local computer. You can also access it via other computers and mobile phones connected on a same local area network. But as a precaution, I am suggesting that this is not a safe and proper way of having your own website. This will only work on a local area network (LAN), connected by Wi-Fi or network cable (UTP cable with RJ45). Without further ado, let’s begin the workshop!
1. First, download and install XAMPP. You can download it here. This will be our virtual server.
2. Open file explorer and go to “C:\xampp\htdocs”. Once inside, create a folder named “sample-site”.
3. Open your text editor, copy and paste the following codes. This will be our template.
<!DOCTYPE html>
<html>
<head>
<title>Page Title</title>
</head>
<body>

<h1>Congratulations!</h1>
<p>If you are reading this,
 you successfully created your first website
 hosted on your local machine.</p>
<br>
<p>Stay hungry, stay foolish,</p>
<p>Curbside Coder</p>
</body>
</html>
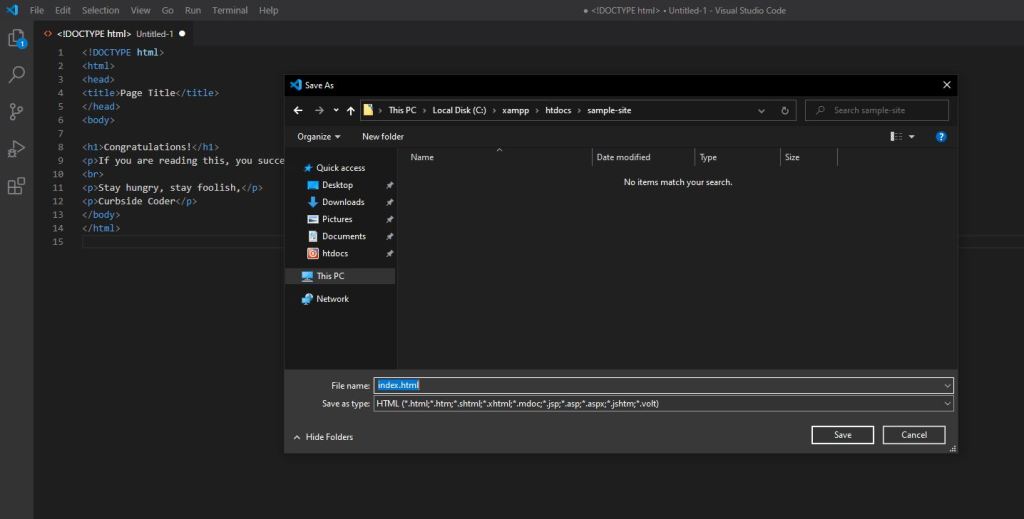
4. Now, save this file as “index.html” or “index.php” on this path: “C:\xampp\htdocs\sample-site”.
5. Run the XAMPP application, then click “start” for the buttons in row with “Apache” and “MySQL”.

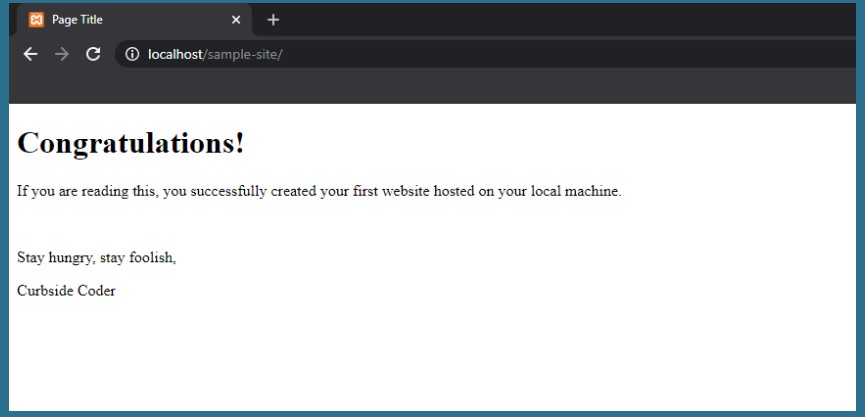
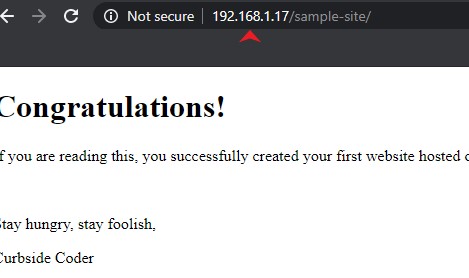
6. You are almost done. Open your browser and go to “localhost/simple-site”. If you see this, you have successfully created your first website and publish it on your local server!
How to share it with your local area?
By default, this is already shared to your area. But to navigate to your website using other device, the user must connect to the same network where you are. Then they need to type on their browser YOUR Computer’s IP, followed by the website name.
How to get my IP?
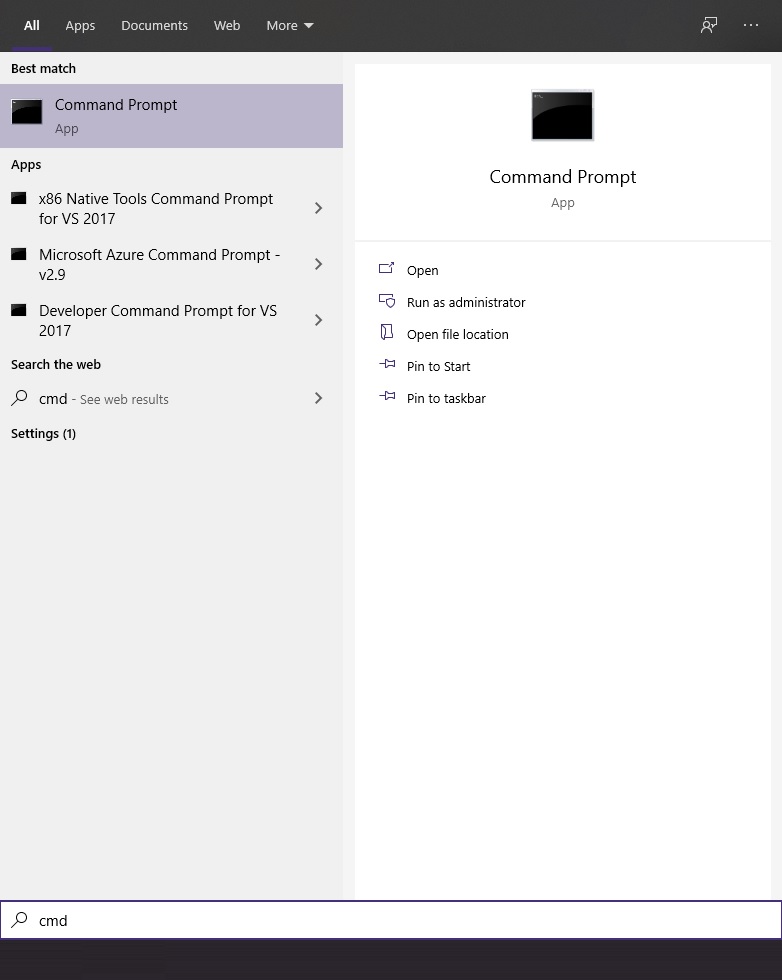
You can get your IP by opening CMD (Command Prompt). You can click “Windows”, type cmd.
When inside the CMD, type “ipconfig/all”. This will list all of the details about your connection. Scroll down and search for IPv4 Address, the one that is “(Preferred)“.

Now, on other mobile devices or other computers connected to a common WiFi or what we call “Local Area Network”, go to the browser and type the IP address you’ve just copied, followed by the site folder name. In our case: 192.168.1.100/sample-site
Be Cautious!
But then again, this is purely intended for educational purposes only. This only aims to teach how to set up your own website. The reason that this is not for actual live website is for security purposes. Many hackers are out there fishing for victims. If your computer is not optimized for traffic and security breech, it is not advisable to host your own website and go live for the world to see.
Hosting companies face this problem every day, so their internet security is very sophisticated, one that you can’t achieve by your own – unless you are a well-equipped programmer that has so many knowledge in data security online, but that’s for another blog post! ^_^
Also, hypothetically speaking, if and only IF your website running online is gaining a large volume of traffic, it needs to be handled properly by your computer. This means more computing power is needed which is pricey.
Creating your own web host is a fun way to learn about web hosting and websites. The actual coding and configuring allows you to explore more, which in turn gives you more experience and learning.
“And that’s one blog, stay hungry!”
“Web Hosting Server is the lifeline of every website. It should be up and running 24/7.”
Dr. Chris Dayagdag


Leave a comment